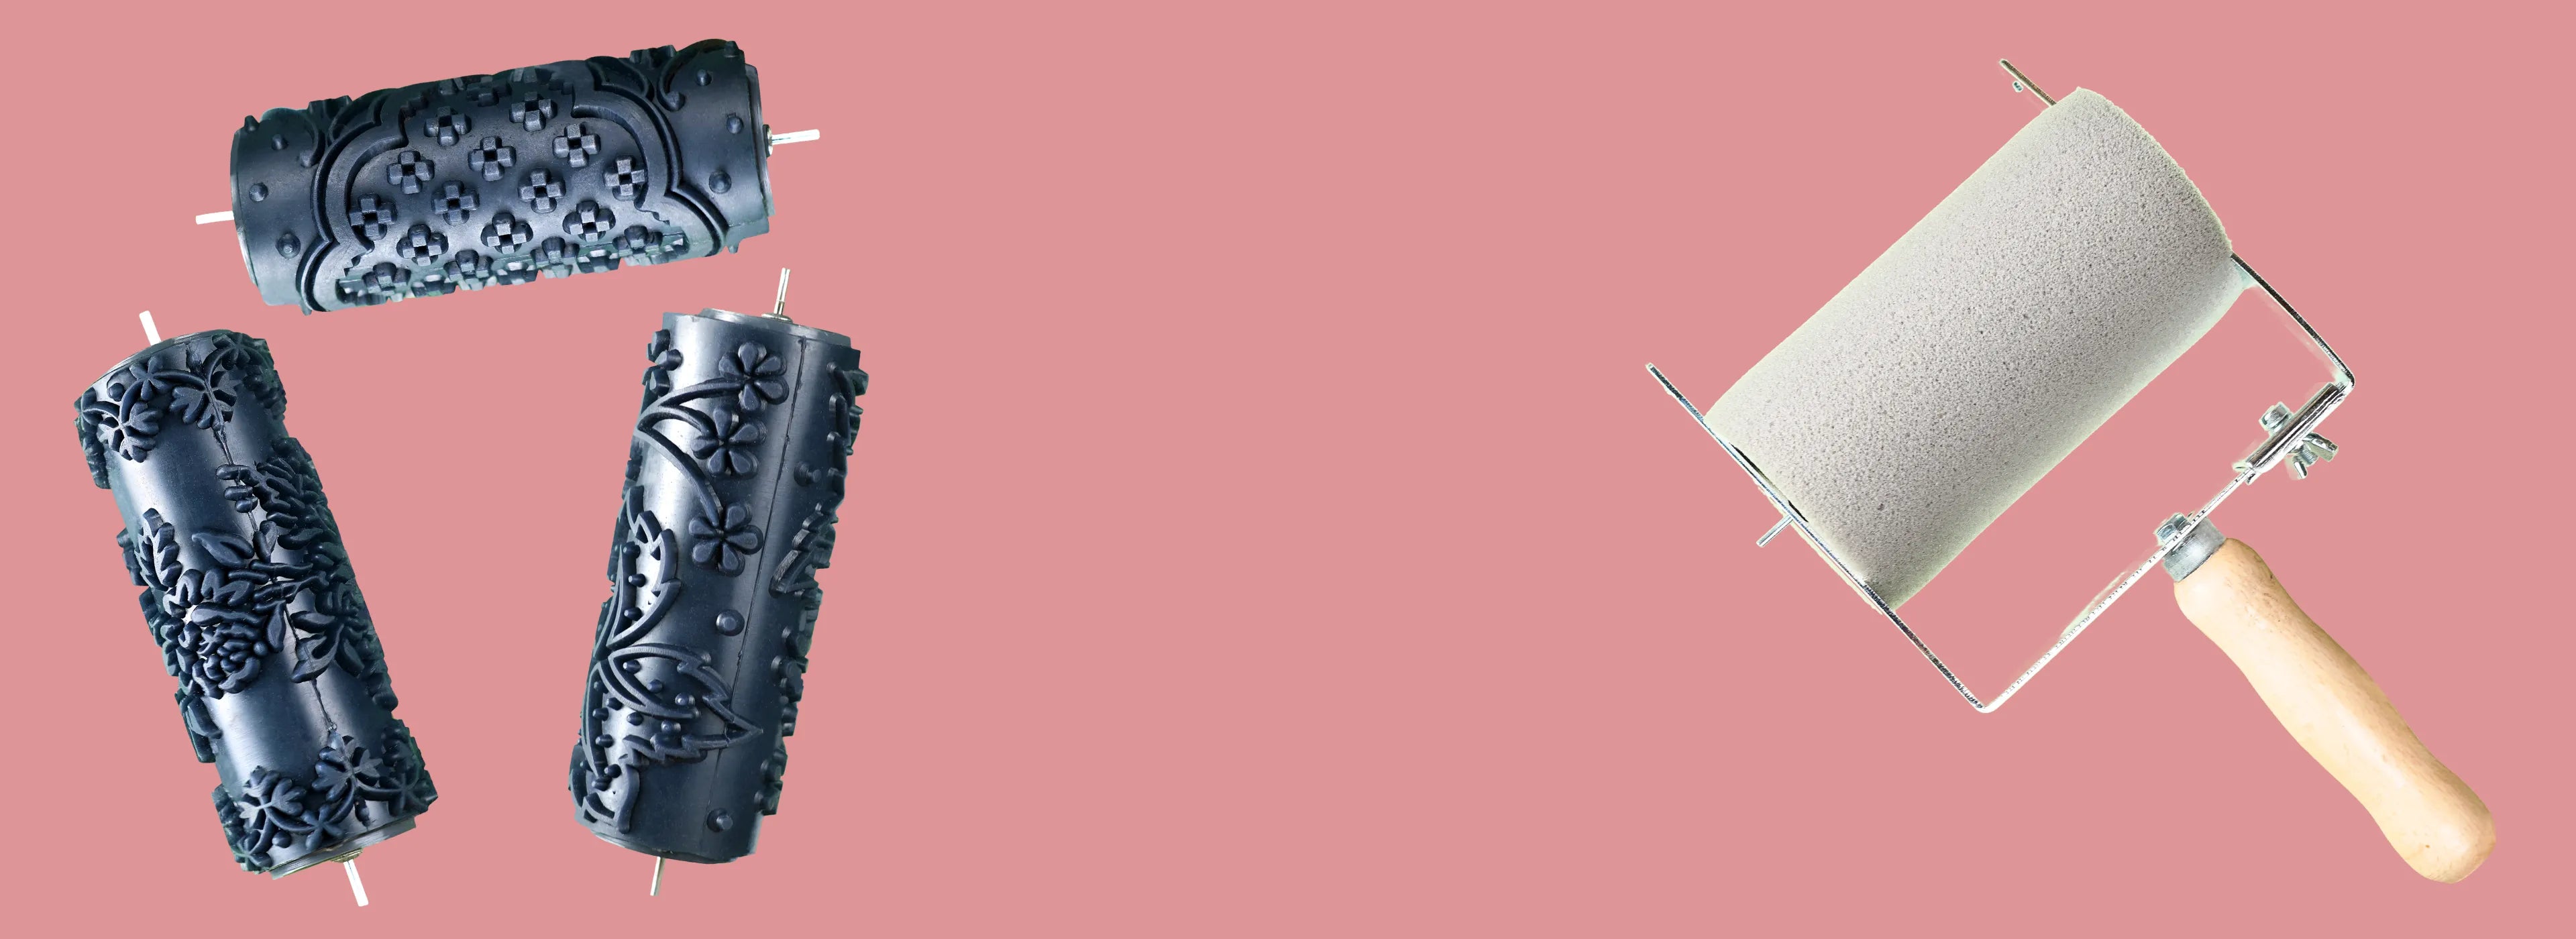
How to Use Roller Rock Patterned Paint Rollers
Welcome to Roller Rock's guide on how to transform your spaces with our unique patterned paint rollers. Follow these steps to ensure a smooth and successful application of our decorative patterns on your walls, textiles, and furniture.
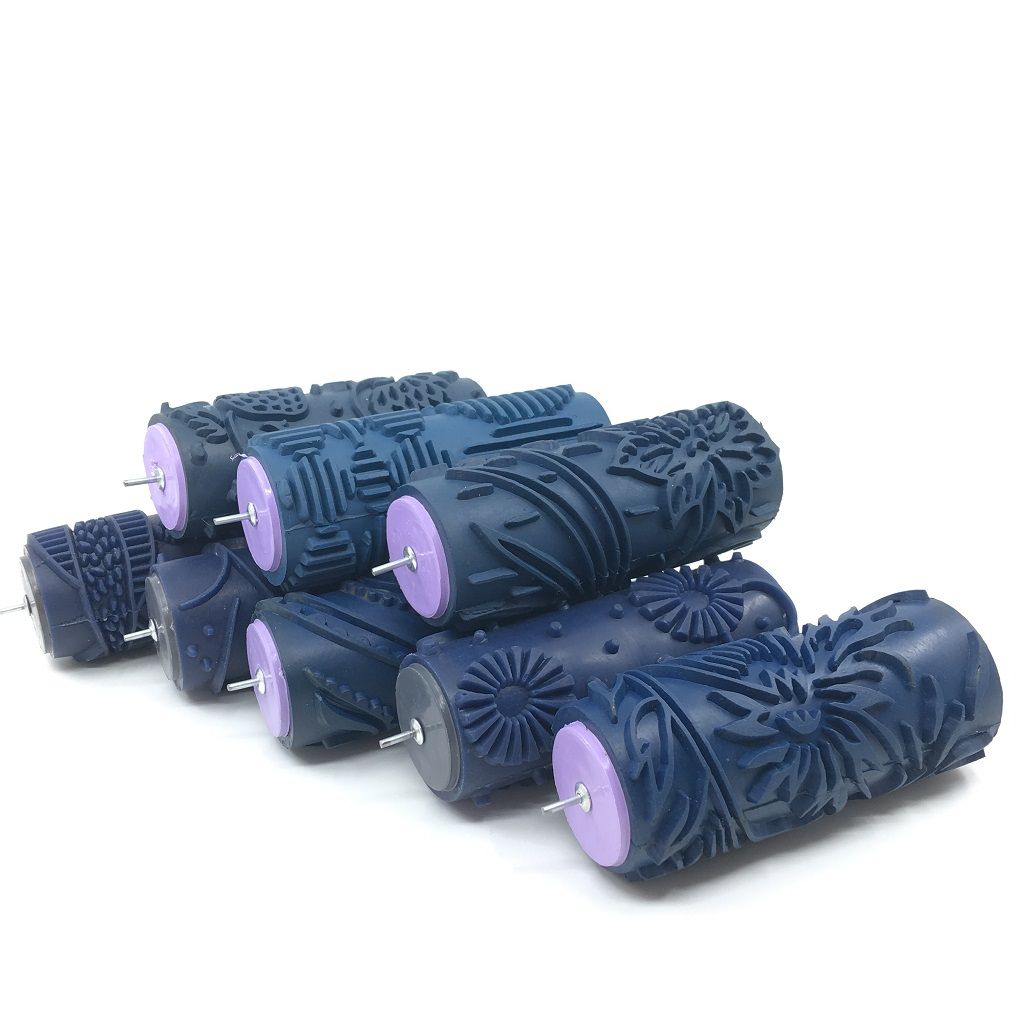
Step 1: Preparation of Materials
Begin by gathering all necessary materials to ensure a seamless decorating process. You'll need:
- A Roller Rock decorative roller
- An applicator equipped with a sponge
- Your chosen paint color
- A paint tray for easy access to paint
- Paper or another test surface to practice your technique before applying it to the desired area
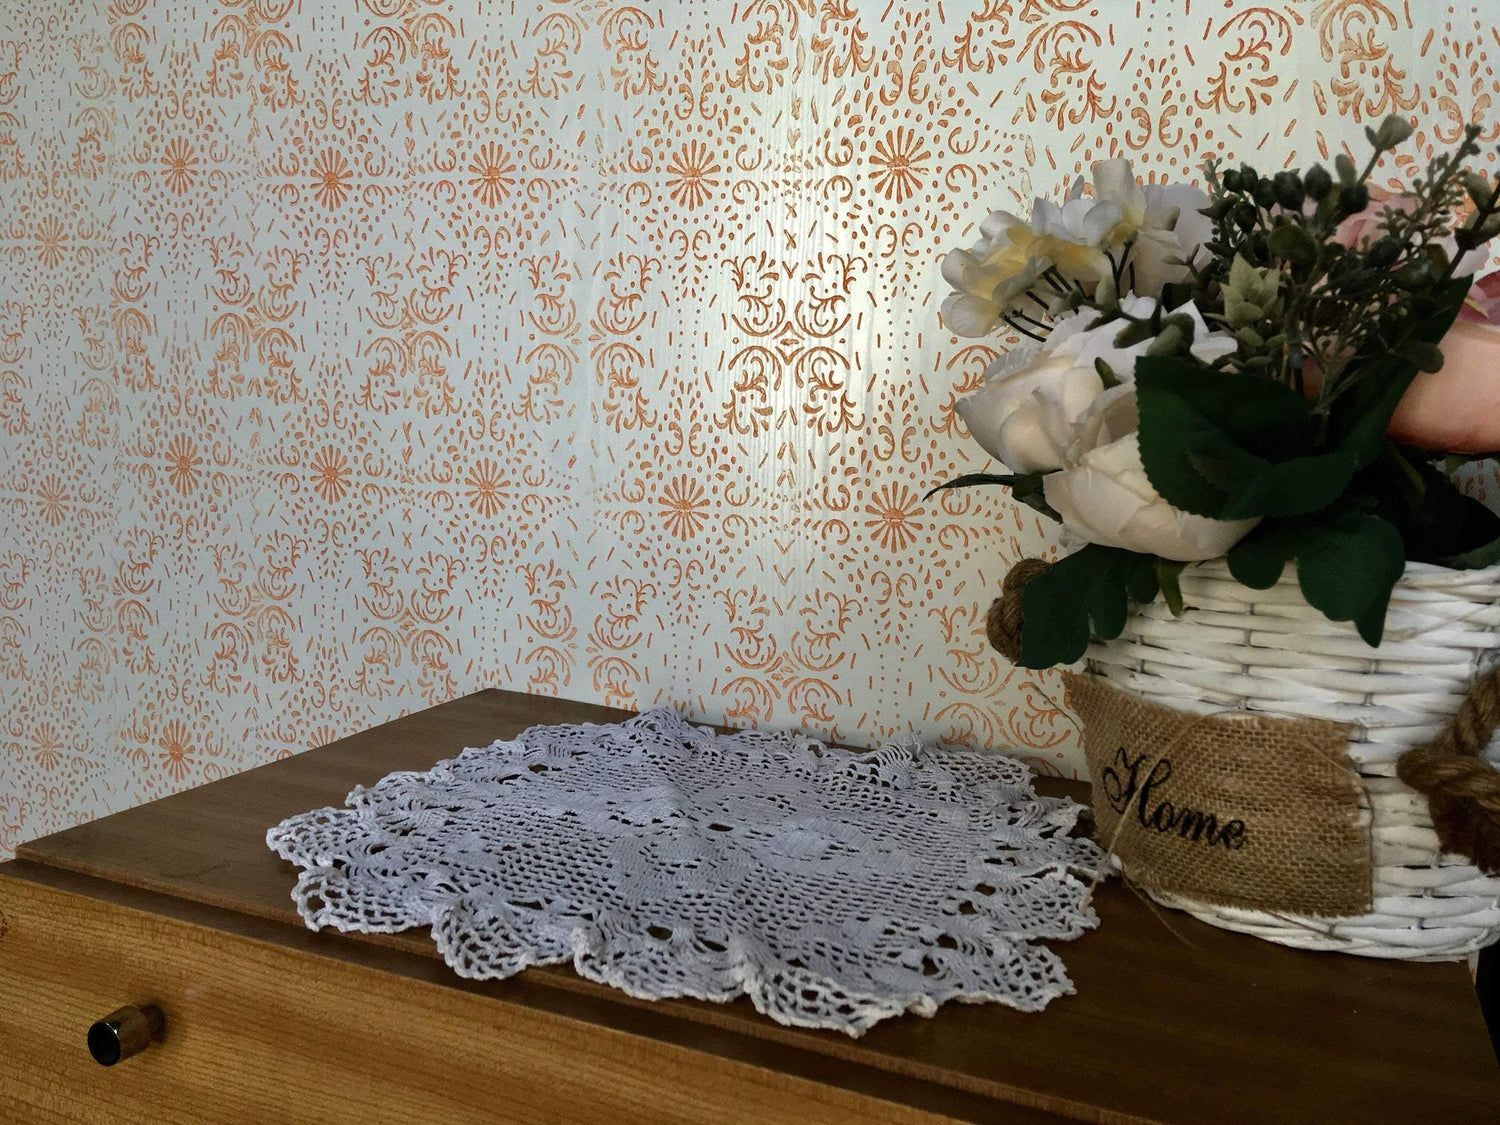
Step 2: Prepare the Substrate
For optimal results, the surface you plan to decorate should be prepared accordingly:
- If painting a wall or similar surface, apply a base coat in your chosen color and allow it to dry completely. This step enhances the final appearance and ensures the pattern stands out.
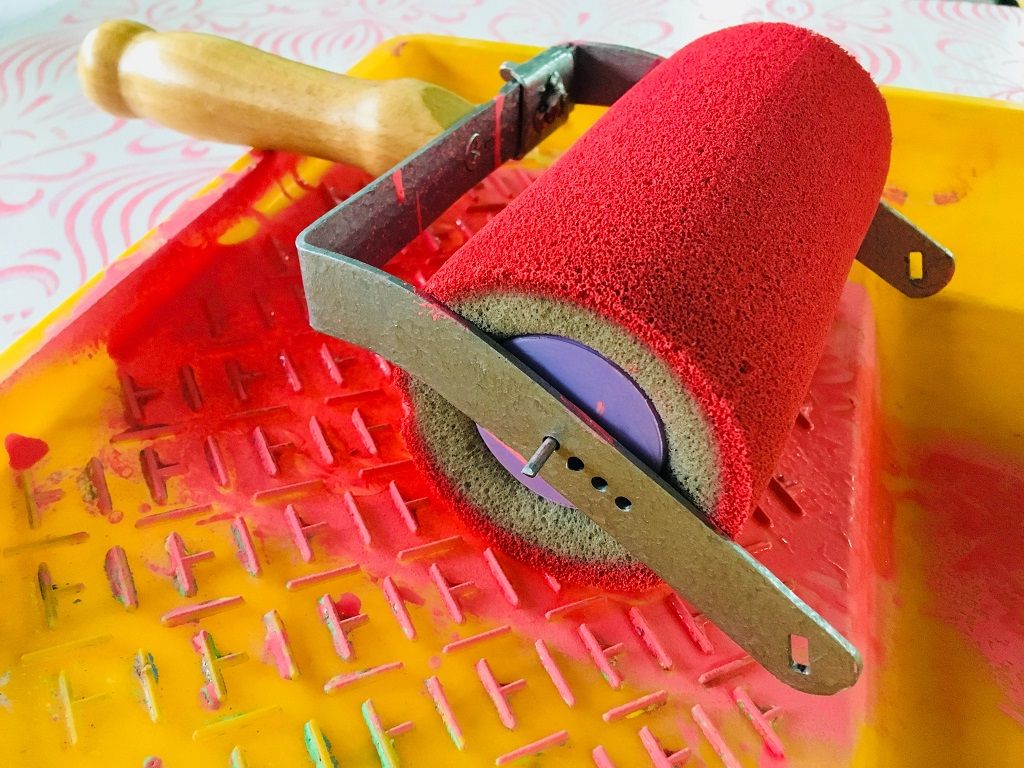
Step 3: Soaking the Sponge
Attach the sponge securely to the applicator. Pour the paint into the tray and evenly soak the sponge to ensure a uniform application of paint to the roller.
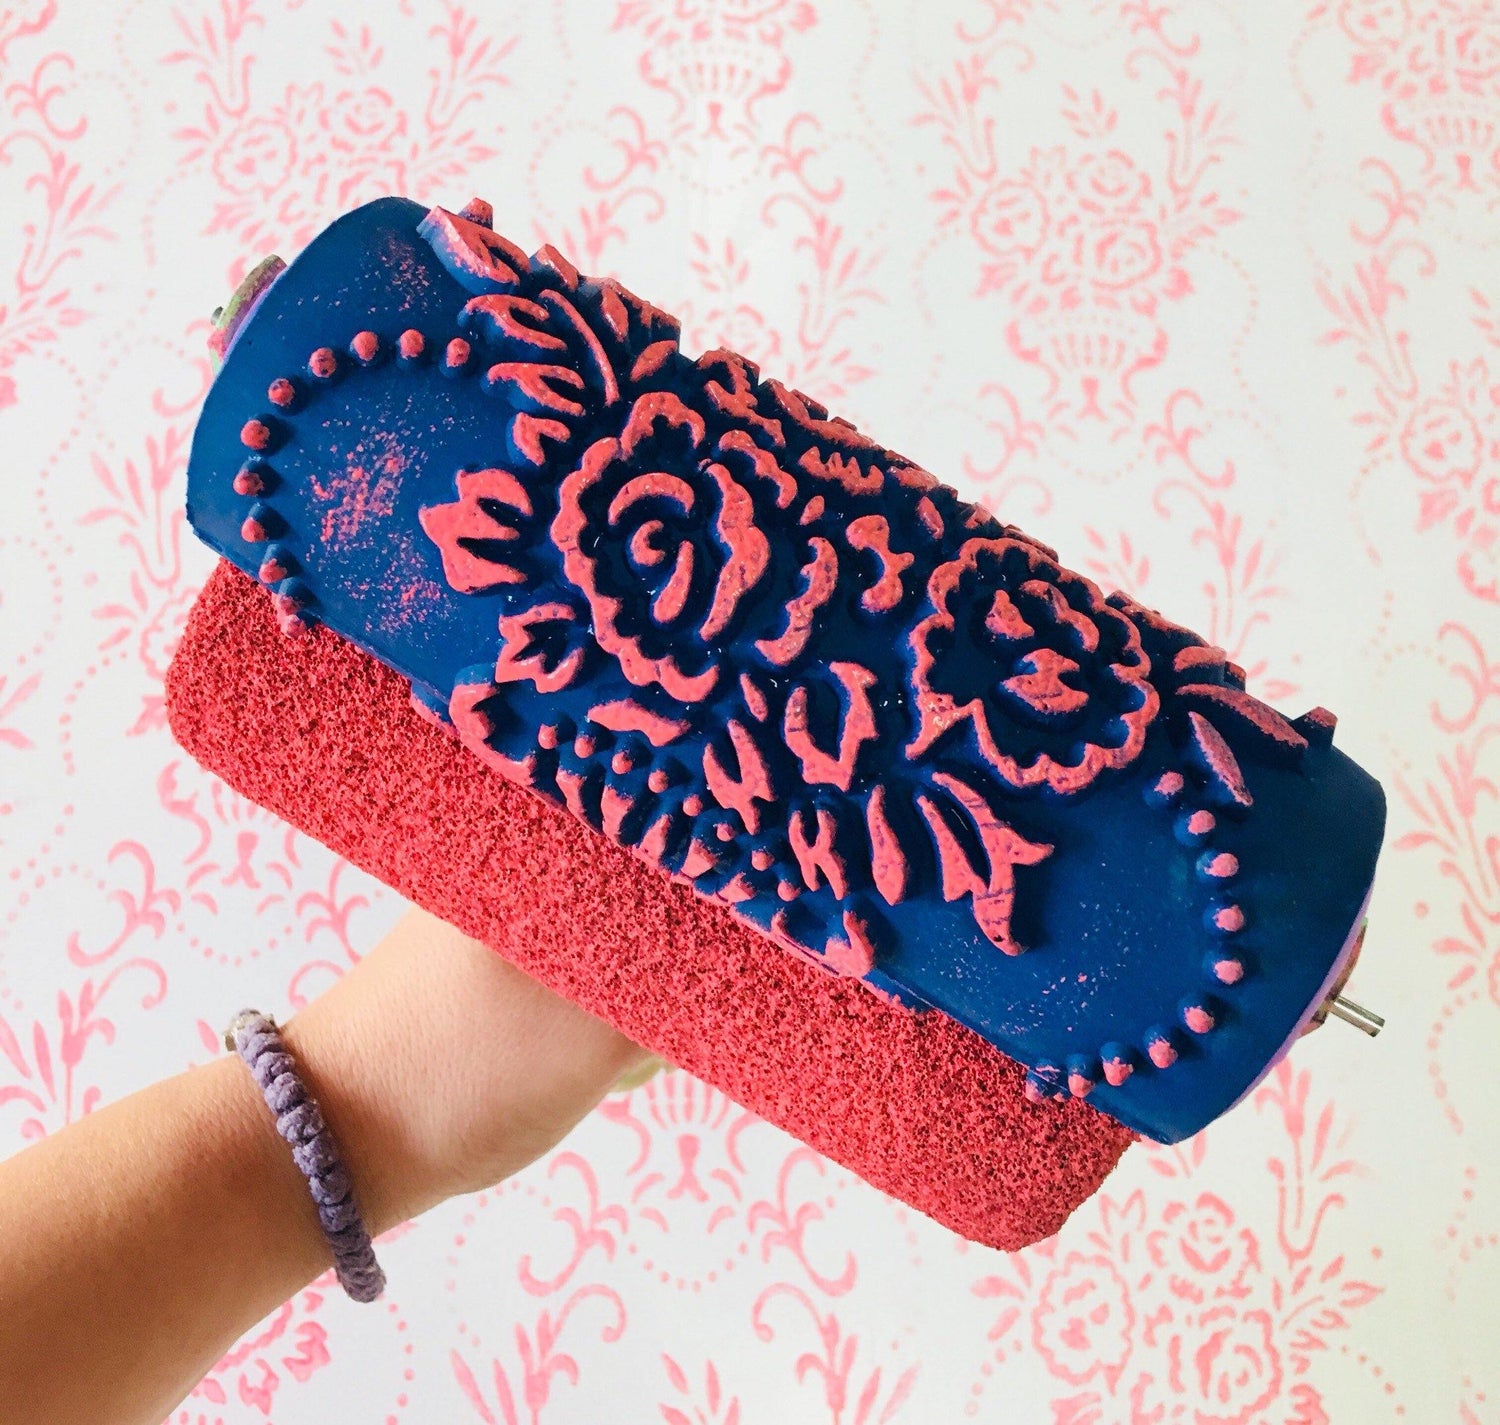
Step 4: Trial Print
It's essential to practice before applying the pattern to your intended surface:
- Conduct a test print on paper or another practice surface.
- Adjust your technique as needed to ensure the roller is well-coated and ready for the final application.
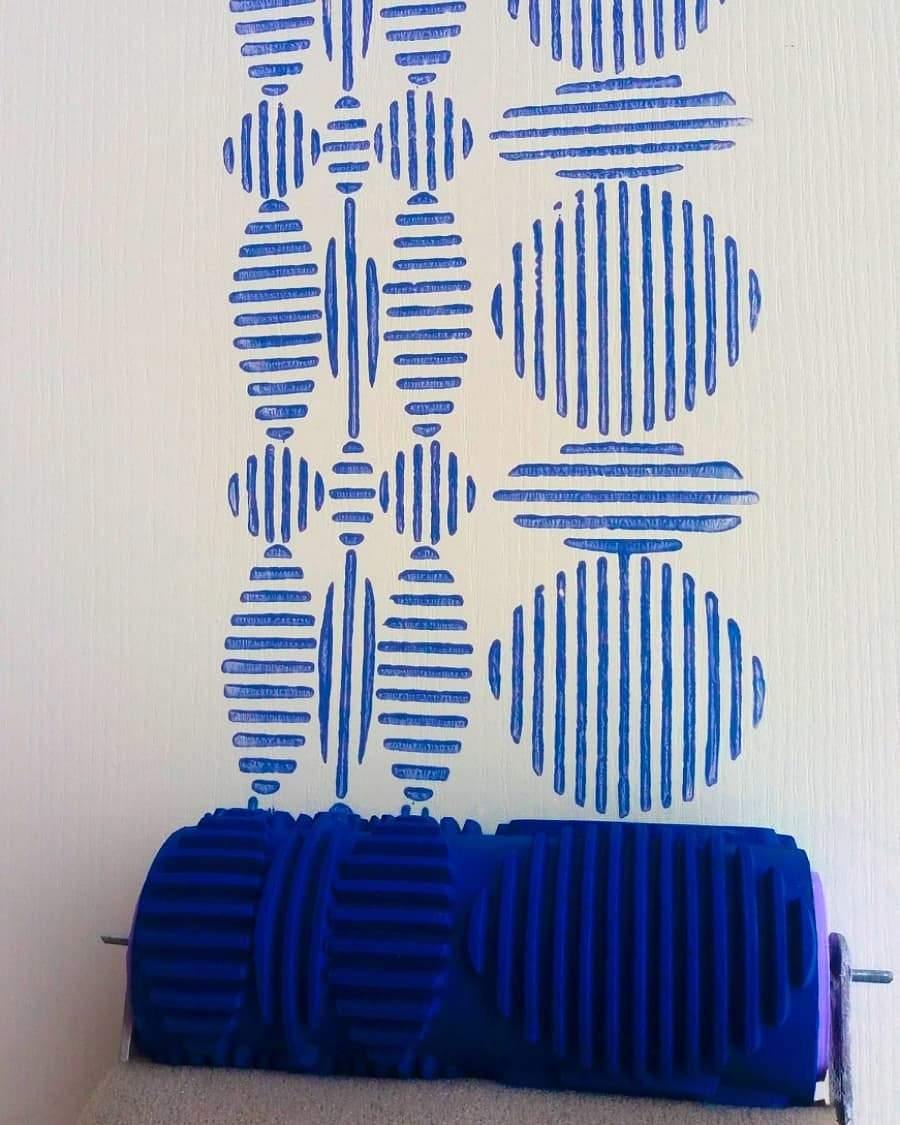
Step 5: Painting
- Apply the roller to your surface with steady, even pressure, moving from top to bottom. For consecutive rows, align the patterns carefully, either by matching the starting point or alternating the starting position based on the roller's design. This ensures a cohesive and uniform pattern across the entire surface.
- When decorating textiles, make sure the fabric is stretched tight and flat to achieve a clear and even impression.
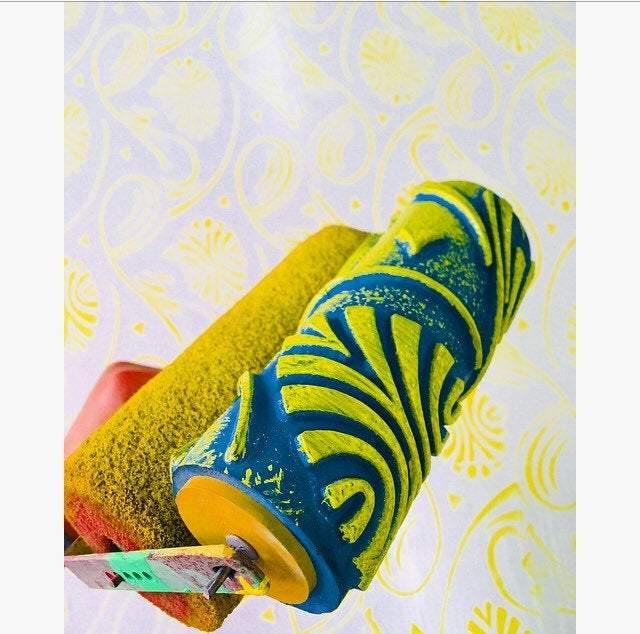
Step 6: Soak the Sponge Again
Depending on the absorbency of the surface and the intricacy of the roller design, you may need to re-soak the sponge with paint after every 1-3 applications to maintain a consistent pattern quality.
Step 7: Clean the Roller
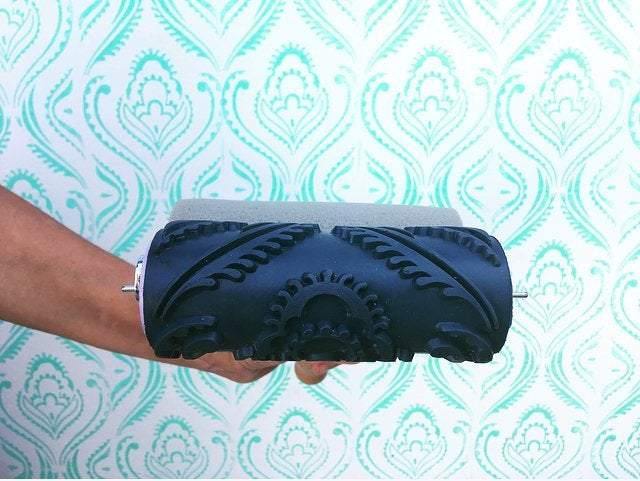
- Immediately after use, thoroughly clean the roller and sponge with lukewarm water and a gentle brush. This prevents paint from drying and hardening on the roller, ensuring it remains in perfect condition for future projects.
- Avoid using harsh chemicals like thinner, as they can damage the roller material.
Watch Our Video Tutorials
Explore Our Collection of How-To Videos:
How To Use
Trial Print
See the final results of our Customers
Use Roller Rock for Walls, Textiles, Furniture etc.
